 Mon–Sat 9:00 AM – 7:00 PM / Sat 9:00 AM – 4 PM
 sales@parts4cells.com
 832-489-2386


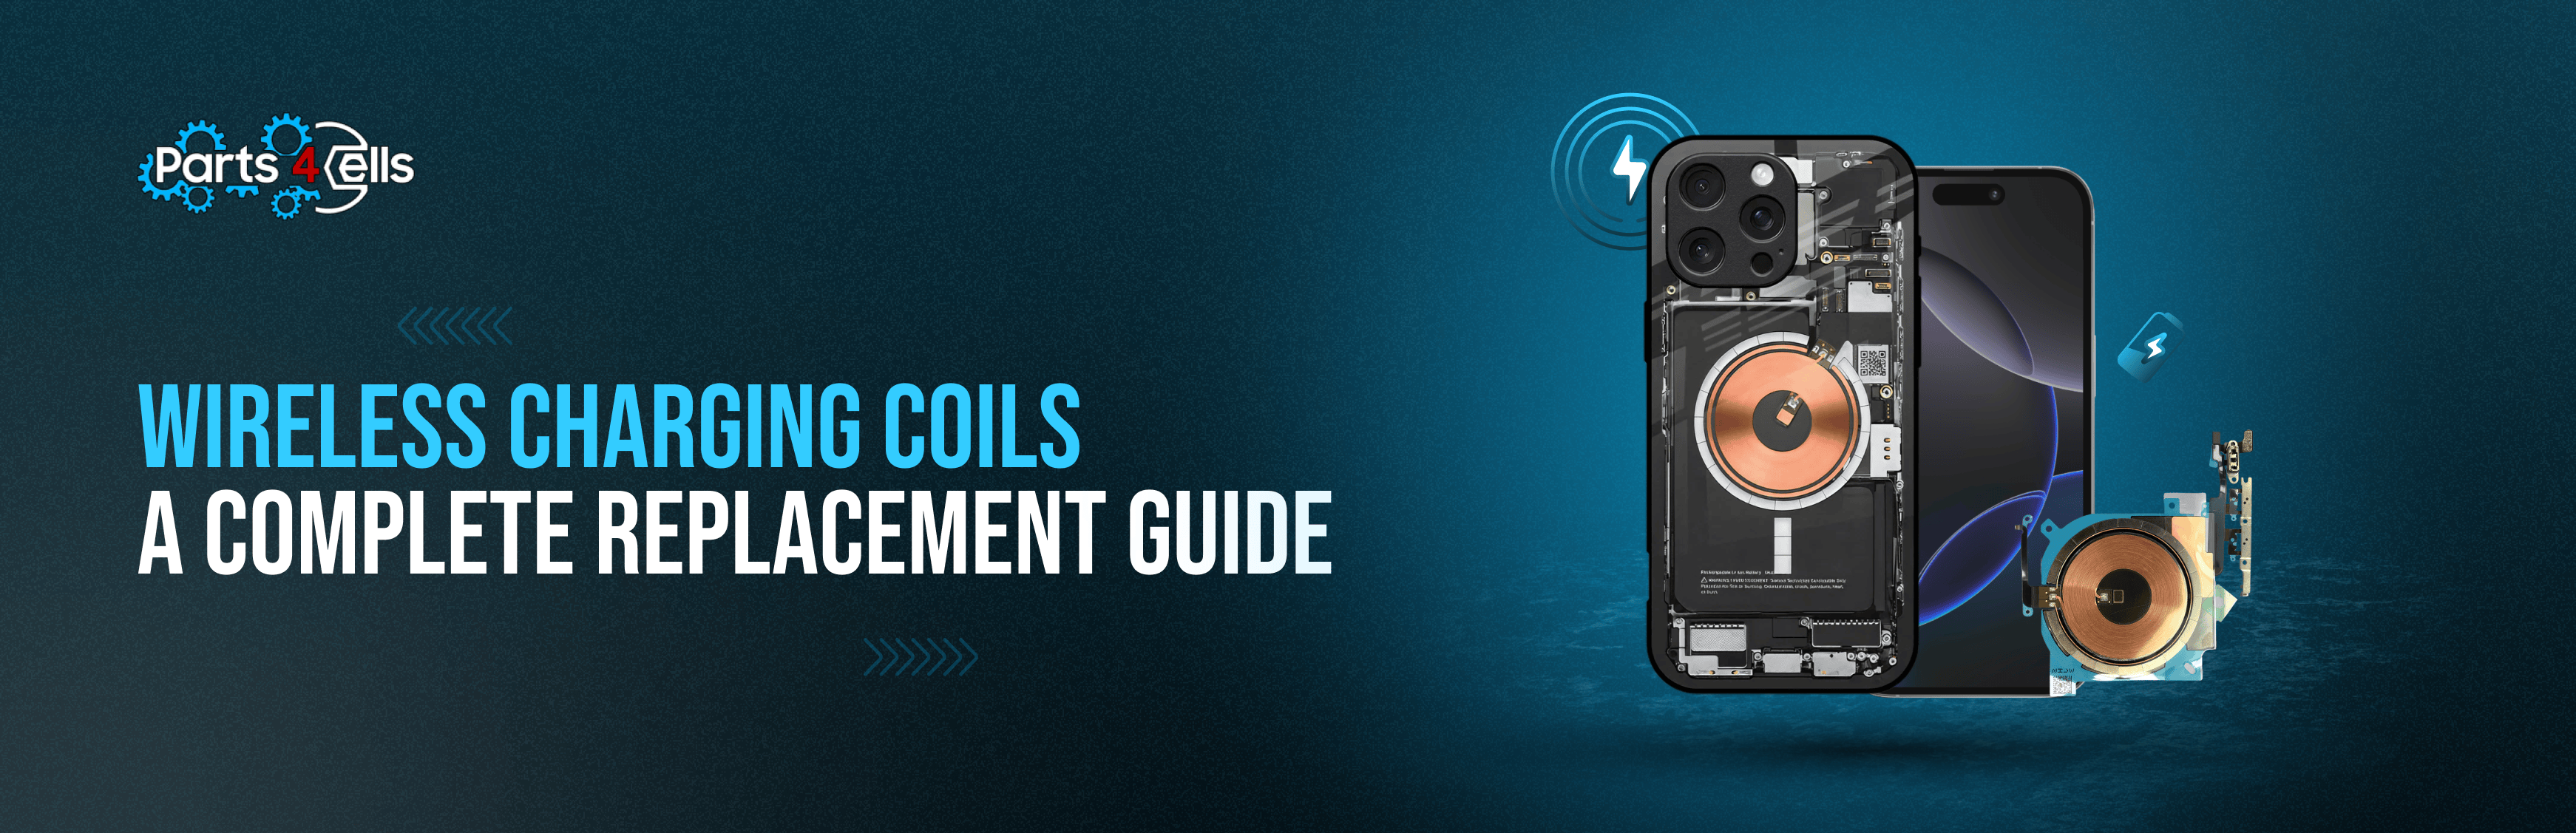
The Complete Guide to Wireless Charging Coil Replacements (USA)
Let’s be blunt: wireless charging is no longer a party trick it’s expected. When that inductive coil goes south, customers don’t just lose a feature; they lose patience. And that’s your reputation on the bench. So, here’s a guide that doesn’t waste your time. It wanders a little (like a tech telling a shop-floor story), then snaps back with the exact steps and checks you need.
Oh and if you’re thinking this is a DIY pep talk, it’s not. This is for trained professionals who know a heat mat from a hot mess.
If you need parts you can put straight into service, Parts4Cells carries the good stuff: tested stock, fast shipping in the U.S., and the kind of consistency that keeps comebacks off your docket. Browse wholesale smartphone parts and keep your queue moving.
What you’re really swapping: the coil, the field, the handshake
Under the back glass sits a thin, copper-wound inductive receiver sometimes cozy with the NFC antenna, sometimes shielded differently, always picky about alignment. It drinks in energy from a Qi pad, hands it off to power management, and if it’s bent, cracked, delaminated, or just glued badly, the whole dance stumbles.
Fast truths for bench techs:
- The coil usually lives on the inner rear housing or the underside of the back cover.
- A broken flex or shifted coil can kill wireless while wired charging hums along like nothing happened.
- Coils are model-specific; don’t wing it verify the footprint, connector, and flex route before you hit “order.”
“My wireless charging not working!” say customers everywhere
Before you reach for heat, confirm you’ve got a coil case (not pad drama or some rogue case magnet).
Classic symptoms:
- Refuses to charge on any Qi pad (even certified units).
- Charges… then drops out when you nudge it (hello micro-fracture or misalignment).
- Hotter than it should be during wireless attempts (shorting or bad seating).
- Cable charging works perfectly (that rules out most port/PMIC nonsense).
- Service menu or diagnostic tools don’t see the coil (OEM-dependent, but a clue).
Why coils fail (and yes, sometimes the universe just says “not today”)
- Impact trauma: a drop onto the back glass coils are fragile and flexes tear.
- Liquid ingress: subtle corrosion on coil terminals or the flex can ghost you.
- Adhesive fatigue: the coil lifts and falls out of the magnetic sweet spot.
- Aftermarket covers: shielding variances, thicker glass, or magnet rings that mess with induction.
- Board-level faults: less common; check PMIC/charging IC after a known-good coil trial.
The preflight you’ll wish every junior tech memorized
A five-step triage saves hours (and pride):
- Test with at least two certified Qi pads and a known-good cable.
- Inspect rear glass/housing for warping or hairlines.
- Pull the case thick/metal cases love to sabotage coupling.
- Reboot, update, sanity-check software blocks.
- Scan for diagnostic flags (where your tooling supports it).
Still failing? That’s your green light for a coil swap using quality inventory from a trusted USA source like Parts4Cells.
Tools that make you faster (and cleaner)
- Heat mat or controlled hot air (steady, not scorched)
- Precision driver set + magnetic mat
- Thin plastic cards, spudger, suction tool
- ESD-safe tweezers
- Model-specific coil (verify flex layout, connector type, diameter)
- OEM-grade adhesives (rear cover + coil bonding)
- Microscope (optional… until it isn’t)
The replacement dance (Technician SOP you can run in your sleep)
Assumes ESD discipline and lab safety. Proceed like a pro.
Step 1 - Prep without drama
Power off. SIM tray out. Snap a few photos (QC loves receipts). Mask vulnerable plastics and lenses. Breathe.
Step 2 - Back cover release
Even heat around the perimeter. No hotspots. Walk a thin plastic card through the adhesive no metal prying. If the fingerprint sensor is lid-mounted, disconnect it before lifting. On some phones the coil rides the cover; note it.
Step 3 - Access & isolation
pop shields/brackets as needed. Disconnect the battery first. Find the coil flex and trace its route. If the coil is fused with NFC, treat the whole sandwich as one.
Step 4 - Old coil out
Warm the adhesive under the coil low, even. Float it up with a plastic tool; don’t crease the flex (ever). Clean sticky residue. Inspect pads and pogo pins. Any corrosion? burn marks? delamination? Log what you see.
Step 5 - New coil in
Dry-fit for model compatibility and alignment. Lay a thin, even adhesive bed bulges mess with pad coupling and alignment. Seat the coil dead center to the pad target. Secure flex routing. Reconnect the coil, then reconnect the battery.
Step 6 - Test before you seal
Boot with the back cover still loose. Set it on a certified Qi charger. You want a steady handshake, normal thermals. Nudge it around to check alignment tolerance. Flaky? Reseat; confirm pad-to-coil coupling.
Step 7 - Reseal like you mean it
Clean surfaces no dust freckles trapped under glass. Apply rear-cover adhesive and press with even pressure per spec. Let it cure. Test again on the pad.
QC that actually catches stuff
Pass means:
- Instant Qi recognition, stable charge current
- No clicky on/off loops
- Thermals hold steady during a 10-minute charge soak
- No rattle or lift from the coil zone
Fail flags:
- Intermittent handshake or lazy spin-up
- Localized heat near the coil/PMIC
- Works only at a weird angle (alignment… again)
- Flex shows stress marks post-assembly
When the coil isn’t the villain (plot twist)
Rule out these gremlins before you book board work:
- Bent housing causing pressure on the stack
- Magnet rings/metal plates hidden in cases (popular with car mounts)
- Battery thermistor line damage confusing charge control
- Bad pad on the bench (swap to a known-good certified Qi unit)
- Charging IC damage (rare, but watch for liquid/overheat history)
Buying smarter (so you’re not fixing the same phone twice)
Your repair is only as good as the part you install. Captain obvious? Sure. But it’s the difference between one-and-done and “why is this back again?”
- Choose U.S. suppliers with documented QC and consistent lots
- Cross-check connector type, flex route, and coil diameter before purchase
- Favor clear returns and warranty policies
- Keep bench stock of common flagship coils to shred TAT
Yes, this is where I say it: Parts4Cells. Grab wholesale smartphone parts and bulk wireless charging coils and quit gambling on mystery inventory.
What to tell customers so they don’t boomerang back
Hand them a quick script or card save your future self some hassle:
- Use certified Qi chargers; bargain-bin pads run hot and weird
- Skip thick or metal cases induction hates them
- Don’t charge over keys, coins, or metal surfaces (yep, people do this)
- Keep the back glass clean and dry
- Be kind to gravity drops can shift alignment or crack the coil stack
Shop ops that quietly increase profit
- Build a model→coil SKU matrix for instant ordering
- Standardize your bench test: two pads, thermal check, alignment wiggle
- Track first-pass yield on charging jobs and publish the scoreboard
- Offer express coil replacement with clear SLAs
- Bundle services: back-glass + coil replacement = higher AOV, faster TAT
Stock up on professional phone repair supplies and tested replacement parts for repair shops so your quality doesn’t depend on luck.
So does swapping wireless charging coils move the needle for U.S. shops? Absolutely. It brings a premium feature back to life, it’s standardizable, and with the right parts it’s almost boring (the good kind). Nail the diagnosis, keep your technique tidy, and source like a pro.
When you’re ready to refill the drawers, Parts4Cells has your back with wholesale smartphone parts and bulk wireless charging coils reliable stock for people who get judged by every comeback.

